Here’s a
quick look at how to put the components of the power steering fluid filter back
together in the canister. There are lots of variations of the filters and seal
rings, and the ETK is not reliable. The basic idea is that there’s only one
feed pipe to the pump, and the clean fluid has to arrive there. All the other
pipes to the tank are low/moderate pressure returns. All that matters is that
there is a good seal between the filter and the bottom of the tank so that the
fluid being pulled into the pump actually goes through the filter. Dealer techs
often overlooked this detail, and the filter installations can be haphazard
enough that no filtration is actually occurring. Whichever variant of the tank
is involved, and whatever order the springs and spacers get put back in place,
the crucial part is creating a fluid-tight barrier against the relevant
surfaces so that fluid has no choice but to pass thru the filter element.
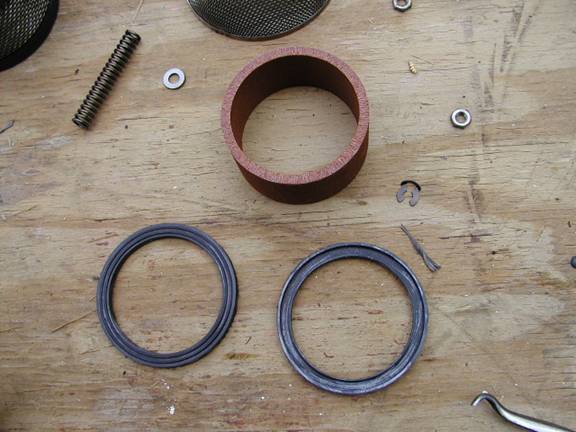
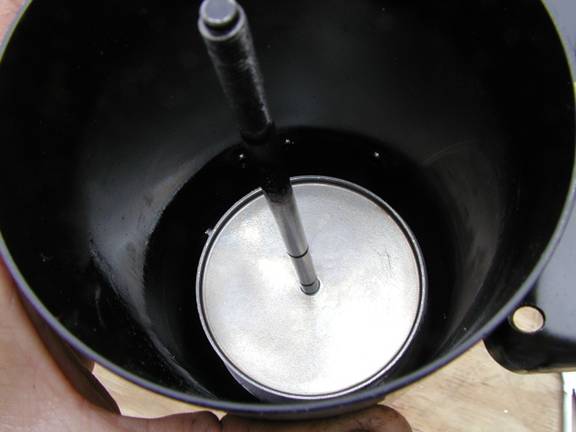
I believe
this is the original early style filter, a porous stack of resin paper. Be sure
to get the rubber seals with it.
Seals
placed on filter element.
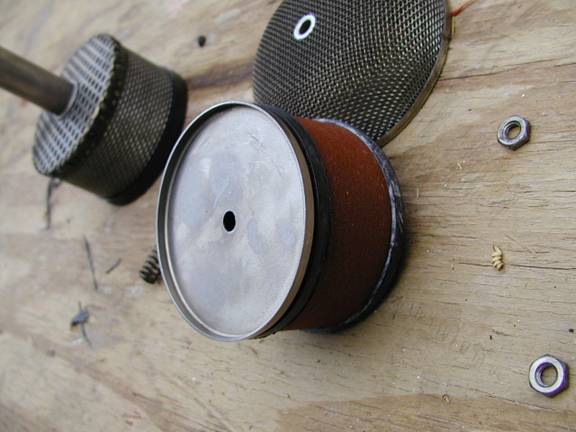
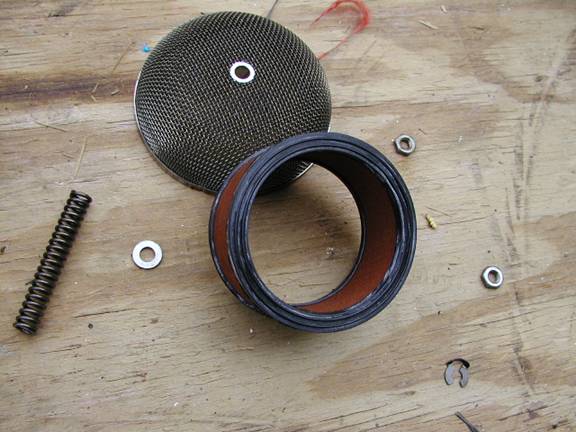
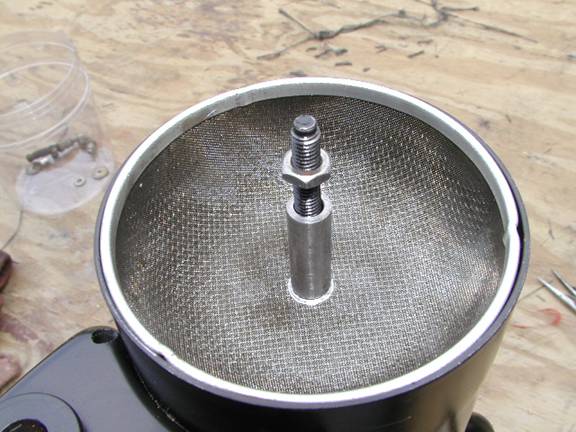
This top
plate with the rolled edges appears as if the edge should be turned down. That
doesn’t work; lip-up is the only way it seals against the rubber ring.
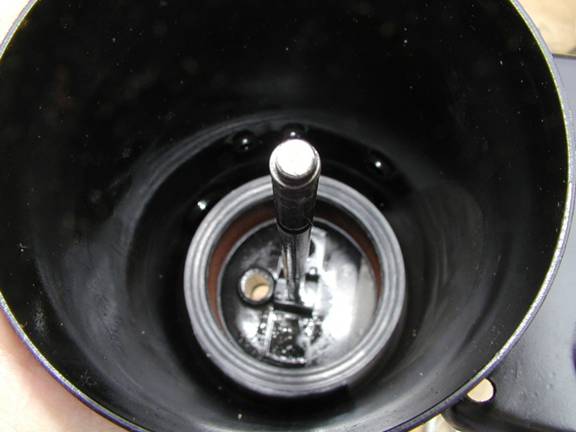
The pipe on
the bottom of the tank is the only one one the
suction side of the filter.

That little
c-clip retaining the spring and washer is the trickiest piece to install. A
pair of extra-long handled needle nose pliers is a big help.
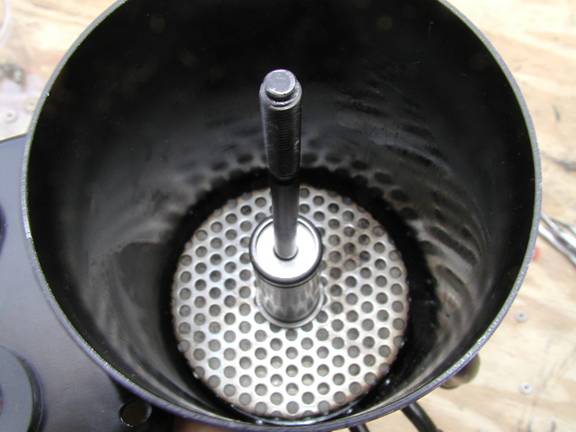
The
stainless mesh screen can goes over the filter next. There’s also a rubber seal
on the bottom of this piece;
make sure
it doesn’t get twisted during installation.

Another
spring and washer
Top strainer
basket and lid spacer.
Easy job,
couple hours tops. Then you can start on the myriad hose clamps that let the
fluid leak out in the first place.